
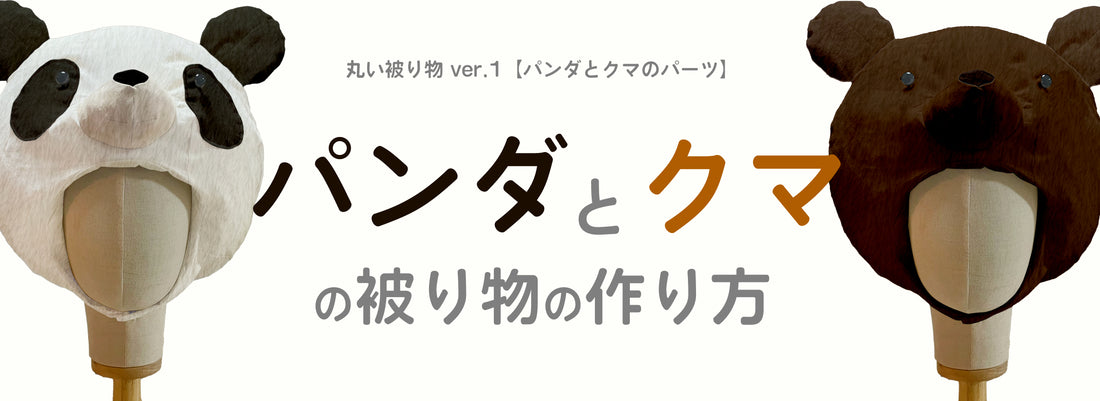

Download this sewing pattern here
Prepare the pattern
First, download the “Round Plush Hat / Costume ver.1” pattern.

Next, download the “Panda & Bear Parts” pattern.
This pattern is an expansion set for the “Round Plush Hat / Costume ver.1.”
To make the hat, you need both the “Round Plush Hat / Costume ver.1” and the “Panda & Bear Parts” patterns.

Choose either “A4” or “A3” print size and print at actual size (100%).
Please note that we cannot offer refunds for orders placed in the wrong size.

Cut out the “nose placement piece”
Cut out the pattern along the cutting lines.


Place the “nose placement piece” on the front piece of the “Round Plush Hat” and trace the pattern.
Feel free to change where you trace it.


Cut the pattern along the inner line of the “nose placement piece.”


Trace the pattern along the inner line of the “nose placement piece.”


Cut the pattern along the inner line.
The outer line is the “stitching line,” and the inner line is the “seam allowance.”


Sew the nose
Cut out the “Nose A–D” patterns, then cut the pieces from the fabric.


Place “Nose C” and “Nose D” together and sew along D-F-D.


Sew dart A on “Nose A.”

Layer the two “Nose A” pieces with right sides together※ and sew along B-C.


Place “Nose A” and “Nose B” together and sew along the left and right D-E.


Place “Nose A·B” and “Nose C·D” together and sew along D-B-D.
Once sewn, turn the fabric right side out.
The nose using the “Nose A–D” pieces is now complete.


Sew the finished nose onto the “Round Plush Hat”
Make snips about 5 mm long around the hole in the front piece of the “Round Plush Hat,” insert the “nose” you completed in step 3, and baste the seam allowance in place.


Sew all the way around the nose to attach it to the front piece of the “Round Plush Hat.”


Baste “Nose E” onto the back of the nose as shown in the figure, then sew the top and bottom of “Nose E.”


Stuff the nose through the gap on the side of “Nose E.”
“Nose E” acts as a “lid” so the stuffing doesn’t spill out, helping the nose keep its volume.
※For the sake of explanation we’re stuffing the nose at this point, but since it makes later steps harder to sew, we recommend stuffing it last.


Sew the eyes onto the “Round Plush Hat”
Cut out the “eye” patterns, then cut the pieces from the fabric.
※If you’re making an animal with no markings around the eyes, such as a bear, this step isn’t needed.
Just sew the “eye buttons” directly onto the round plush hat.

Fold the seam allowance around the eye and baste it in place with hand-sewing thread.


Make a hole in the pattern with an awl, layer it onto the eye fabric, and mark the spot.
You can also mark it earlier, at step 5-1.


Make a hole with an awl at the spot you marked.


Insert the “eye button” into the hole you just made, and sew it to the fabric from the back with hand-sewing thread.
The eye piece is now complete.


Once you’ve decided the eye placement, pin it in place and sew all the way around the edge of the eye.


Once the area around the eye is sewn, undo the basting thread, and the eye is complete.


You may also make a hole in the “Round Plush Hat” fabric and sew the eye on from the back.
If you do, trim the seam allowance off the eye pattern before tracing it onto the fabric.


Sew the ears onto the “Round Plush Hat”
Cut out the “ear” patterns, then cut the pieces from the fabric.
You need 2 pieces each for the left and right ears, 4 pieces in total.

Layer the ears in pairs with right sides together※ and sew around the edges.
Once sewn, turn them right side out and shape them.


Add a little stuffing through the opening at the bottom of the ear, and close the opening with a clip or similar.


Once you’ve fixed the ears where you want to attach them, layer the back piece of the “Round Plush Hat” with right sides together※ and baste around the edges.


Once you’ve sewn all the way around the head, attaching the panda parts is complete.
The rest of the steps are the same as making the “Round Plush Hat”: add the lining and the stuffing to finish.
For details, please check the “Round Plush Hat” how-to-make video.

