How to make
the basic body
How to make
the hair, face, and clothes

Download this sewing pattern here
Plan your design
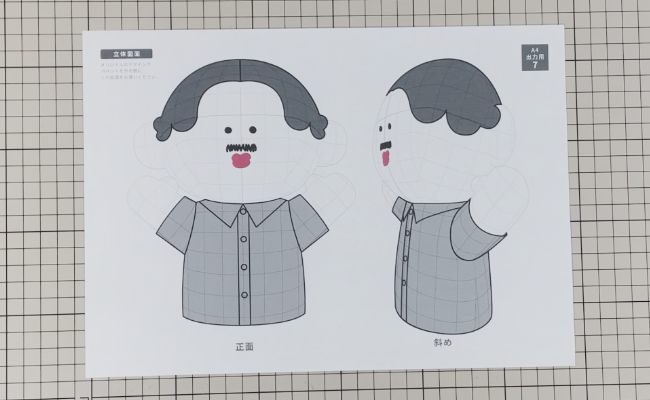
Get out the “3D layout sheet” that comes with the pattern.

Sketch your design onto the 3D layout sheet.


Drawing not just the front view but also angled and side views makes it easier to picture the finished result.
Hand-drawn is perfectly fine. In the photo, we cleaned it up using an app called Illustrator so it’s easier to see.
Transfer the design onto the pattern
Transfer the design onto the pattern while checking the grid positions on the 3D layout sheet against the design. In the images, the design has been cleaned up for clarity.


Using the grid positions of the design you drew on the 3D layout sheet as a reference, you can transfer your 3D design onto the flat pattern.

Transfer the other pieces besides the hair as well. We recommend printing 2–3 extra “spare patterns” to use for transferring the pieces.

Add the eyes
Here are a few ways to add the eyes
A method for adding the eyes, mouth, and so on with an embroidery machine or by hand.


This method uses ready-made eye patches sold in stores.


This method uses safety eyes sold for plush toys.
You can also use ordinary buttons instead.


Printable fabric sheets can these days even be bought at 100-yen shops and the like.
Print an eye illustration you made in a “drawing app” or similar and stick it onto the fabric.

Make the hair
Here are a few ways to make the hair as well
Cut out two pieces in the hair shape you made in “Variation 2,” place them right sides together※, and sew around the edges. Turn it right side out and your hair is done.


This method sandwiches double-sided fusible interfacing between two pieces of fabric and presses them together with an iron. After fusing, cut them into whatever shape you like.
Here we explain using “Nui Cross” and “Nui Cross Boa.”


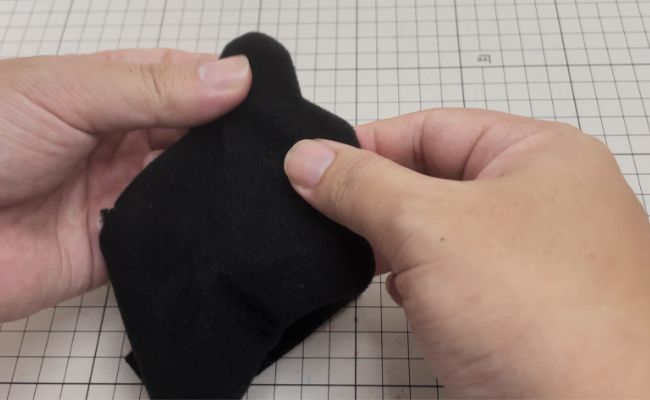
The fabrics often used for plush toys have a feature where the edges don’t fray easily even when left raw. This method takes advantage of that feature and uses the fabric with its edges left raw.

When to attach the hair
This method tucks the hair in and sews it together at the point where you join the face and the back of the head (Basics, step 5-9).


This method attaches the hair last, once the puppet doll is nearly finished, using embroidery thread or craft glue.


Make the clothes
The detailed steps vary depending on the clothing design, so we’ll only explain the general flow.
Cut the fabric to match the shape you transferred onto the pattern.

Using the grid positions of the design you drew on the 3D layout sheet as a reference, transfer your 3D design onto the flat pattern.

First, sew the clothing pieces onto Outer D (chest), Outer E (back), and Outer F (arms) respectively.


If there are accessories that would be hard to attach later, attach them at this point.

After that, follow the same flow as from “Basics, step 6” to sew the body, join it to the head, and attach the lining. Finally, stuff it with fiberfill and you’re done.

1 comment
服を作る場合、体の前と後ろと手の部分を110%で印刷したらピッタリサイズで作れました(^-^)ほかの方のご参考になれば!